
Virtual cards can be issued only on a one-by-one basis through iConnectData (ICD) on the Add a Virtual Card page. Note that some of the fields displayed and/or required are determined by a company administrator during setup. If you notice a field is missing, contact your company’s administrator.
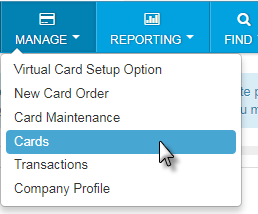
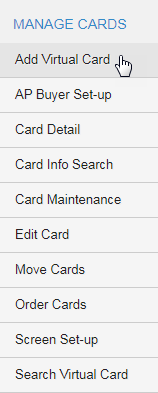
1. To access the Add a Virtual Card page, select Manage > Cards > Add Virtual Card.
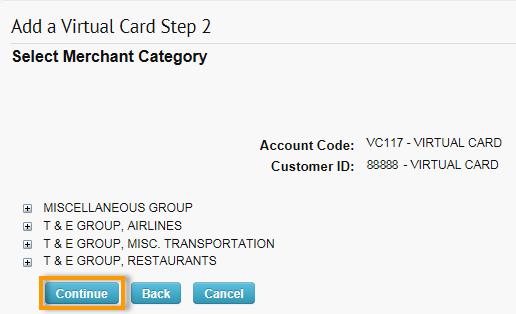
2. Select the account code and customer ID that will issue virtual cards. Then, click Continue.

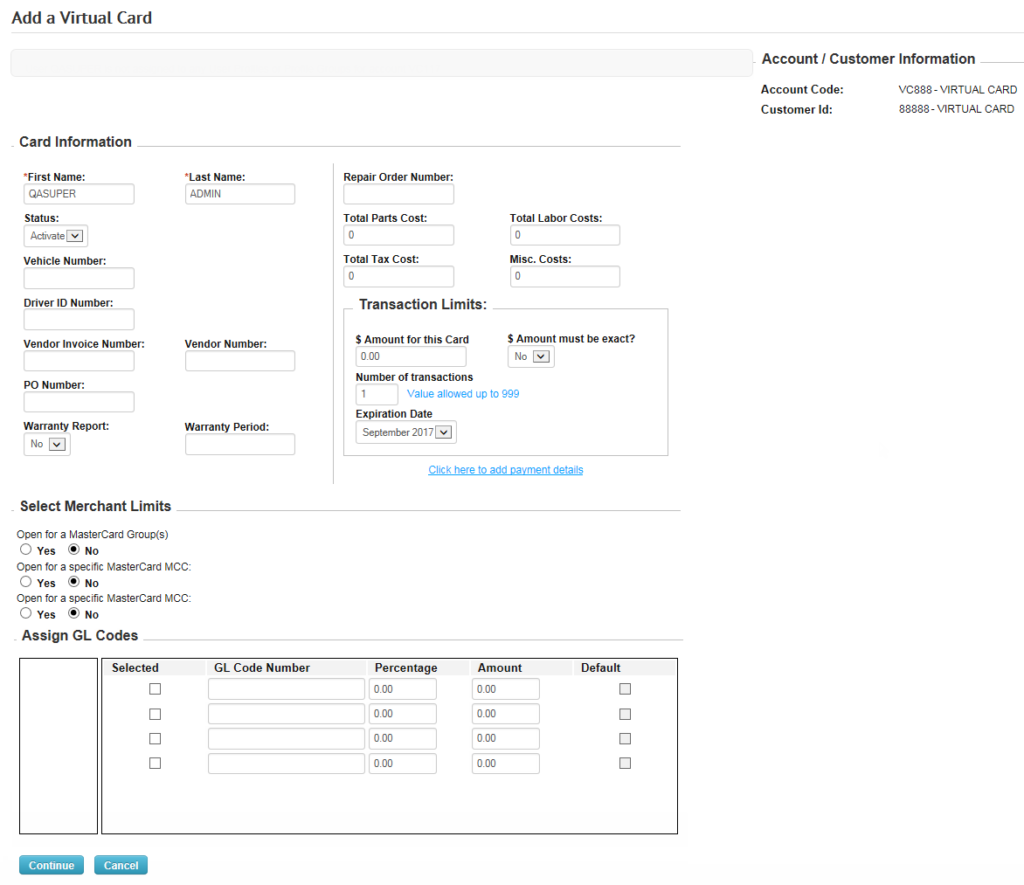
3. The Add a Virtual Card Order page opens. The Card Information section contains fields that were created by your site administrator during setup. Not all the fields pictured below may display depending on your administrator’s settings; required fields are denoted with a red asterisk (*). See the table below for a description of all possible fields.
| Field Name | Description/Comments |
|---|---|
| First Name/Last Name | The first name and last name associated with the virtual card. These fields may not be editable if your site administrator did not select that option during setup. When the fields are not open for editing, the virtual card is issued using the name associated with the current user login.
The first name can be up to 15 alphabetical characters; the last name can be between 3 and 20 alphabetical characters. |
| Status |
You can change the status of an issued card from Activate to Block and vice versa using the Edit a Virtual Card page. You can assign additional card statuses (Fraud, Stolen) when you edit a card. |
| Vehicle Number | Vehicle ID of the vehicle receiving service. |
| Driver ID Number | Virtual cards are not issued to drivers. This field can be used for customer-assigned values. |
| Vendor Invoice Number/Vendor Number | The Vendor Invoice Number can be entered if it is known at the time the card is being issued. This field can also be completed later when editing the virtual card. The Vendor Number is the number assigned to the vendor in your company’s accounting system for the selected customer ID. |
| PO Number | Purchase order number for the virtual card transaction. |
| Warranty Report/Warranty Period | Warranty Report is a Yes or No field used to indicate whether the product or service charged to the virtual card includes a warranty period. No is the default value. Warranty Period is used to enter the length of the warranty period, such as 30 days. |
| Repair Order Number | Vendor-assigned number if the virtual card is being issued for repairs. |
| Total Parts Cost/Total Labor Costs/Total Tax Costs/Misc. Costs | The amount quoted by the vendor for the total parts cost, labor cost, tax cost, and/or miscellaneous costs related to the products or services purchased. If nothing is entered in these fields, the system will default to a 0 monetary value. |
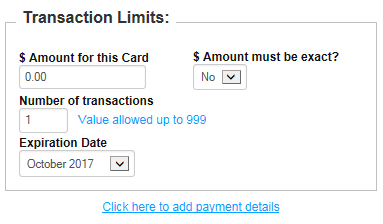
| Transaction Limits | These fields define the transaction levels available for the virtual card:
|
| Select Merchant Limits | Allows you to limit the virtual card usage to specific merchants. Note that you can select only one option:
|
| Assign GL Code | Assign general ledger (GL) codes to the virtual card. |
| Payment Number | Vendor-assigned number for the invoice being paid; this field can be used for any type of customer-defined discretionary data. |
| Vendor Invoice Number | The vendor invoice number can be entered if it is known at the time the card is being issued. This field can also be completed later when editing the virtual card. |
| Virtual Card Invoice Number | Invoice number for which the virtual card is issued. |
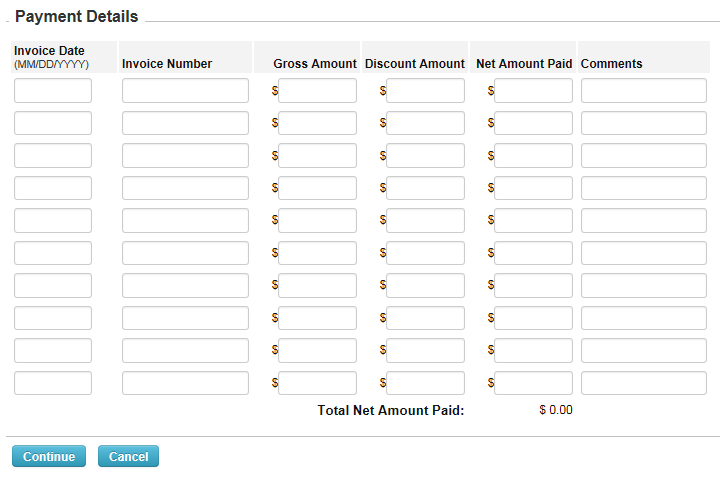
If you want to tie the transaction limits you have assigned to additional payment details, use the Click here to add payment details option in the Transaction Limits section.
Clicking this option opens the Payment Details page which contains rows for entering ten specific invoices. When finished, click Continue to return to the Add a Virtual Card page.
| Field Name | Description/Comments |
|---|---|
| Invoice Date | The date you are making the payment to the vendor. |
| Invoice Number | The invoice number can be entered if it is known at the time the card is being issued. This field can also be completed later when editing the virtual card. |
| Gross Amount | Enter the amount of the invoice before any discounts are deducted. |
| Discount Amount | Enter the amount of any discounts to be deducted. |
| Net Amount | Displays the amount for the invoice after discounts are deducted. |
| Comments | Enter any comments related to the invoice. |
| Total Net Amount Paid | Displays the total amount of all invoices to be paid with the virtual card. This value will also display in the Amount for this Card field, which will increase with each invoice added. |
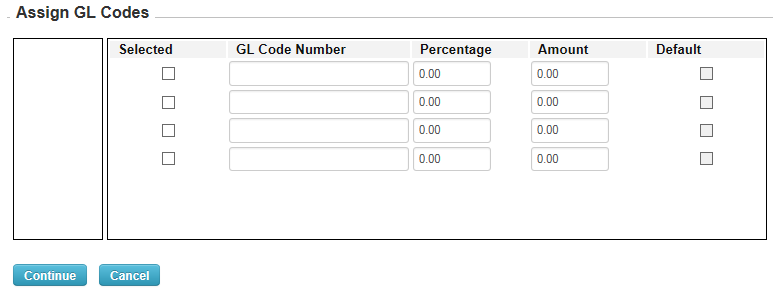
If your administrator allows you to assign GL codes to the virtual card, an Assign GL Code section displays on the Add a Virtual Card page. You can assign only four GL codes. Note that after you issue the virtual card, you can change the GL codes on the Edit a Virtual card page.
| Field Name | Description/Comments |
|---|---|
| Selected | Select the check box for GL Code that will be used on the virtual card. |
| GL Code Number | Enter the full GL code number. Depending on the setup created by your administrator, an exact match between the GL code amounts you specify and those posted to your virtual card may not be required. If an exact match is required, any non-matching GL codes returned when the payment is posted will be dropped from your remittance advice. Contact your administrator if you feel this is not the right setting for managing GL codes.
If an exact match is not required, any GL codes returned in the payee remittance information that exceed the amounts specified for the card will be reallocated. |
| Percentage | Specify the amount to allocate from the GL code as a percentage. Enter the percentage as a whole number (for example, 50 = 50%). |
| Amount | Enter the amount to allocate from the GL code as a whole number. You can use a decimal for dollars and cents (for example, 50.50 = $50.50). |
| Default | The Default check box is selected if any remaining expenditure amounts are returned to the GL Code. |
4. After entering all your information, click Continue at the bottom of the Add a Virtual Card page when finished. Click Reset to clear all fields.
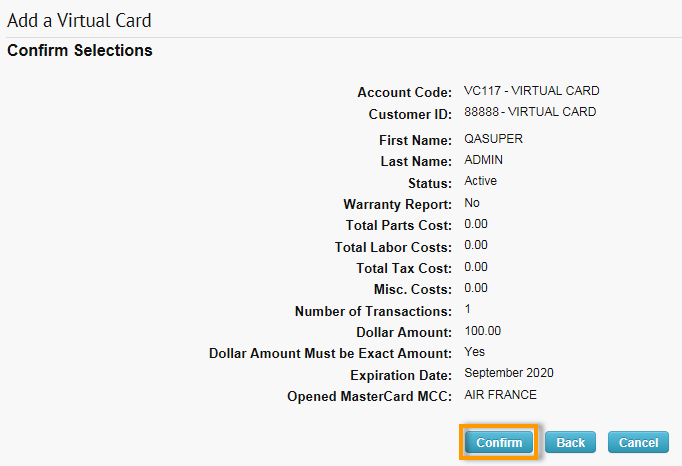
5. A confirmation page displays, prompting you to ensure all information is correct. Review and click Confirm if there are no issues.
6. A success message displays showing your generated card number, CVC2, expiration date, and card balance. If you wish to Email and/or Fax the Card Remittance Information to your vendor, then enter that information in the corresponding field and click Email Card/Fax Card. You may also edit the virtual card by clicking the Edit Card button.
